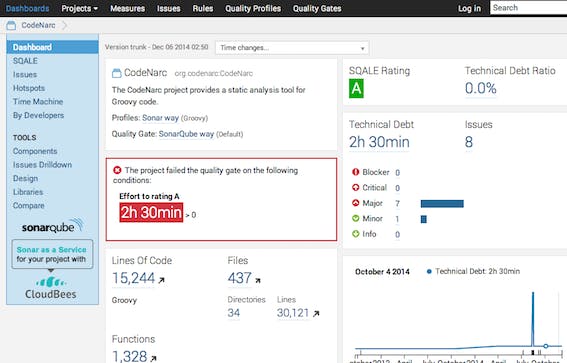
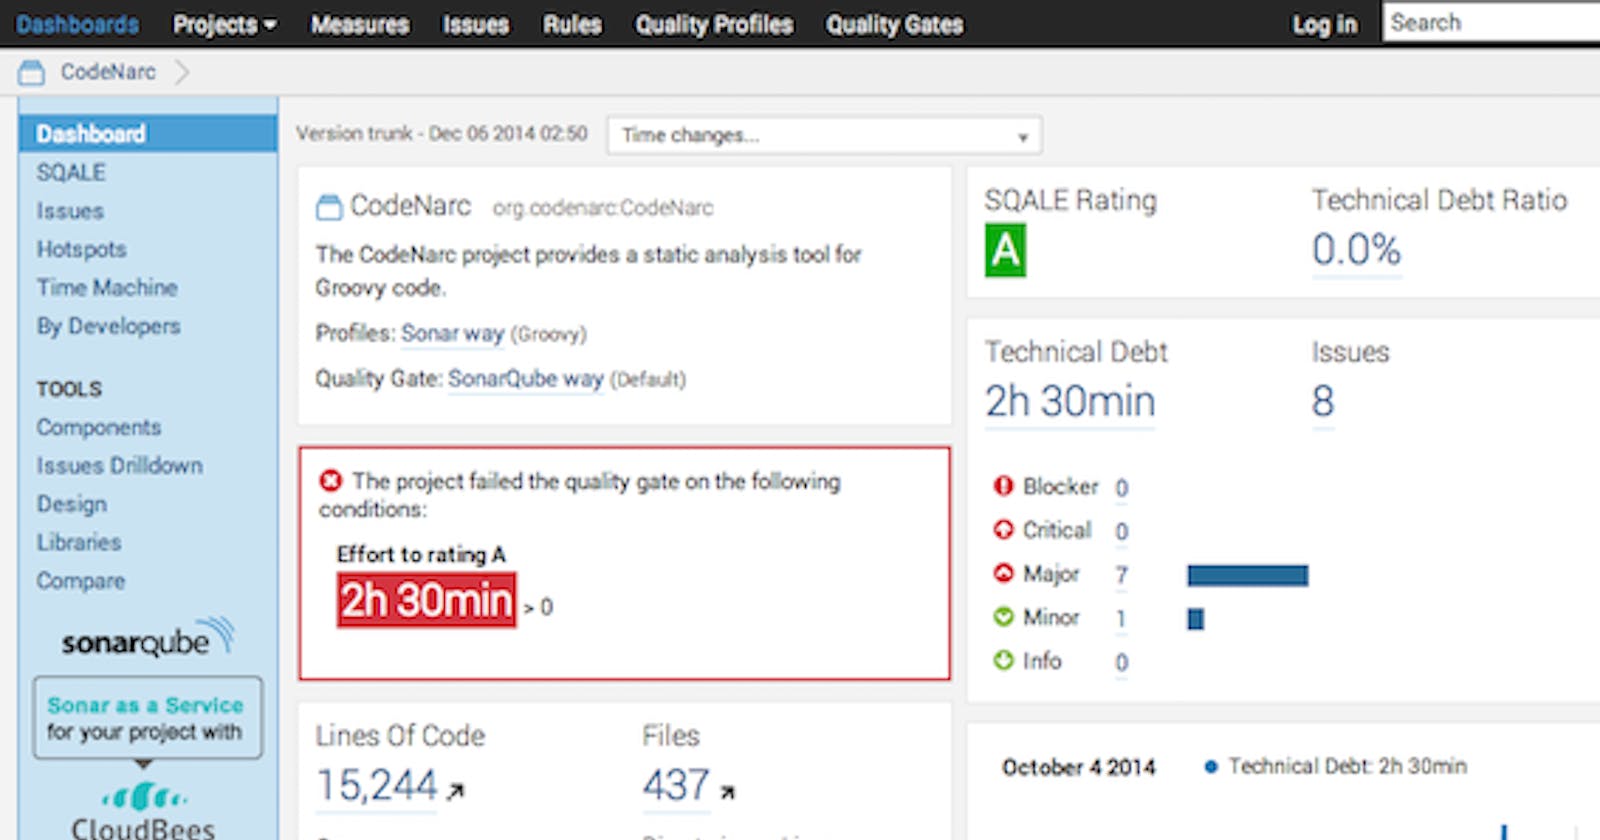
SonarQube is an open-source platform to manage code quality. It covers many aspects of code quality like Complexity, Coding rules, Duplications, Unit tests coverage, etc.
It's really easy to configure SonarQube with your Grails project.
Download and Install
Download SonarQube and SonarQube Runner from sonarqube.org/downloads
Extract the archived files in your preferred directory. I have extracted them in /usr/sonarqube-4.5.1 and /usr/sonar-runner-2.4
Configure SonarQube
Configure SonarQube properties by editing file on following path
/usr/sonarqube-4.5.1/conf/sonar.properties
In this file you will configure settings for database that will be used by SonarQube. I have MySql installed locally so uncomment following lines.
# User credentials.
# Permissions to create tables, indices and triggers must be granted to JDBC user.
# The schema must be created first.
sonar.jdbc.username=sonar
sonar.jdbc.password=sonar
...
...
...
#----- MySQL 5.x
sonar.jdbc.url=jdbc:mysql://localhost:3306/sonar?useUnicode=true&characterEncoding=utf8&rewriteBatchedStatements=true&useConfigs=maxPerformance
As mentioned in the file you need to first create a database with name sonar
create database sonar;
and then create a user that has full permission on the sonar database.
CREATE USER 'sonar'@'localhost' IDENTIFIED BY 'sonar';
GRANT ALL PRIVILEGES ON sonar.* TO 'sonar'@'%' WITH GRANT OPTION;
Now start SonarQube server using the following command.
/usr/sonarqube-4.5.1/bin/macosx-universal-64/sonar.sh start
As I'm using OSX that's why I have chosen macosx-universal-64 architecture, use the one suitable based on your operating system.
Now you need to install some plug-ins for SonarQube to work for Grails.
In your browser navigate to http://localhost:9000/. Click on login link on top right corner of the page.
Enter user-name and password default is admin \ admin
Click on Settings in the top right corner, then click on Update Center under the System menu item on the left. From the Update center you can install / un-install and upgrade your plug-ins, first page shows all the plug-ins already installed with SonarQube.
Click on Available Plugins, you need to install 3 plugins for the scope of this article.
- Groovy - Enables analysis of Groovy projects.
- Cobertura - Get code coverage with Cobertura.
- SCM Activity - Collects and reports information from SCM.
Search each of these plugins on the available plugins page and install them. Once installation is complete restart SonarQube for the plugins to take effect.
Configuring Sonar Runner
Configure Sonar Runner properties by editing file on following path
/usr/sonar-runner-2.4/conf/sonar-runner.properties
Uncomment following line for Sonar Runner to connect to MySql database.
#----- MySQL
sonar.jdbc.url=jdbc:mysql://localhost:3306/sonar?useUnicode=true&characterEncoding=utf8
Configuring Grails project
Create sonar-project.properties at the root of your Grails project with the following values.
sonar.projectKey=com.domain.my-project
sonar.projectName=My Project
sonar.projectVersion=1.0

sonar.sources=src/groovy,grails-app/services,grails-app/controllers,grails-app/domain,grails-app/utils,test/unit
sonar.language=grvy
sonar.sourceEncoding=UTF-8

# Path to the Cobertura XML report
sonar.groovy.cobertura.reportPath=target/test-reports/cobertura/coverage.xml
Change sonar.projectKey and sonar.projectName as required. For the coverage to work properly make sure you specify all directories where your groovy code exists, your can exclude and include other directories as you need.
Analyzing the Grails project
Before you analyze your Grails project using Sonar Runner, make sure the code coverage plugin is installed in your project (grails.org/plugin/code-coverage) and you will have to execute the following command to generate cobertura xml file to be used by sonar.
grails test-app -coverage -xml
Now analyze your project by running the following command from the root of your Grails project
/opt/sonar-runner-2.4/bin/sonar-runner
If everything went well you should be able to see data related to your project in SonarQube at http://localhost:9000/


